
How to Add and Manage Documents in Your Playfinder Account
When you make a booking through Bookteq, you may be asked to upload certain documents such as insurance, safeguarding certificates, or other required files. This article explains how to add, view, and update your documents in your account.
How to add a document to your account
Once you log in to your dashboard, you’ll see a section called Your Documents.
Here’s how to upload a new document:
- Go to the Your Documents section on your dashboard.
- You will see a list of documents that need to be uploaded.
- Next to each required document, select the option to attach or upload the relevant file.
- Choose the file from your device and upload it to your account.
Once uploaded, the document will be stored in your account and linked to your profile or bookings where required.
Viewing your uploaded documents
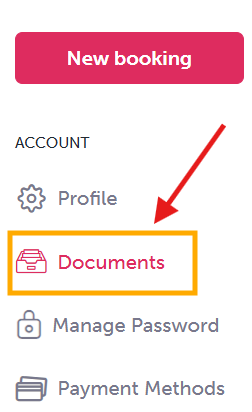
You can manage all your documents in the Documents tab.
In this area, you will be able to:
- View all documents you have uploaded
- Check whether each document is currently valid
- See the expiry date for each document
This helps you stay on top of any documents that may need renewing in the future.
How to edit or update a document
If you need to make changes or replace an expired file, you can do this easily from the same section.
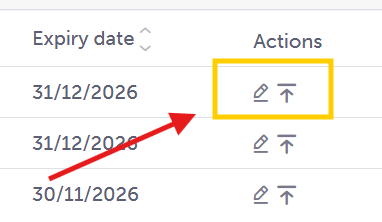
- Click the pencil (edit) icon to rename a document.
- Use the upload icon to replace or update a document if it has expired or needs to be refreshed.
Once updated, the new version will replace the existing file in your account.
Keeping your documents up to date
It’s important to make sure your documents remain valid, especially if they are required for future bookings. Bookteq will show you expiry dates clearly so you know when something needs updating.
By regularly checking your Documents tab, you can ensure your account stays compliant and avoid any delays with your bookings.